


This guide explains the steps to crop shapes in the LibreOffice Draw program.
In the other tutorial, I explained how to crop an image in Draw. Cropping an image is fairly simple. You get an option to crop right in the menu, which makes it super easy.
But when you want to crop any native shape, For example, a circle or a square, well, that part is a little tricky.
Here’s how you can do it.
How to Crop a Shape in LibreOffice Draw
There is no clear menu item or option to crop shape in LibreOffice Draw. We are going to do it via a workaround.
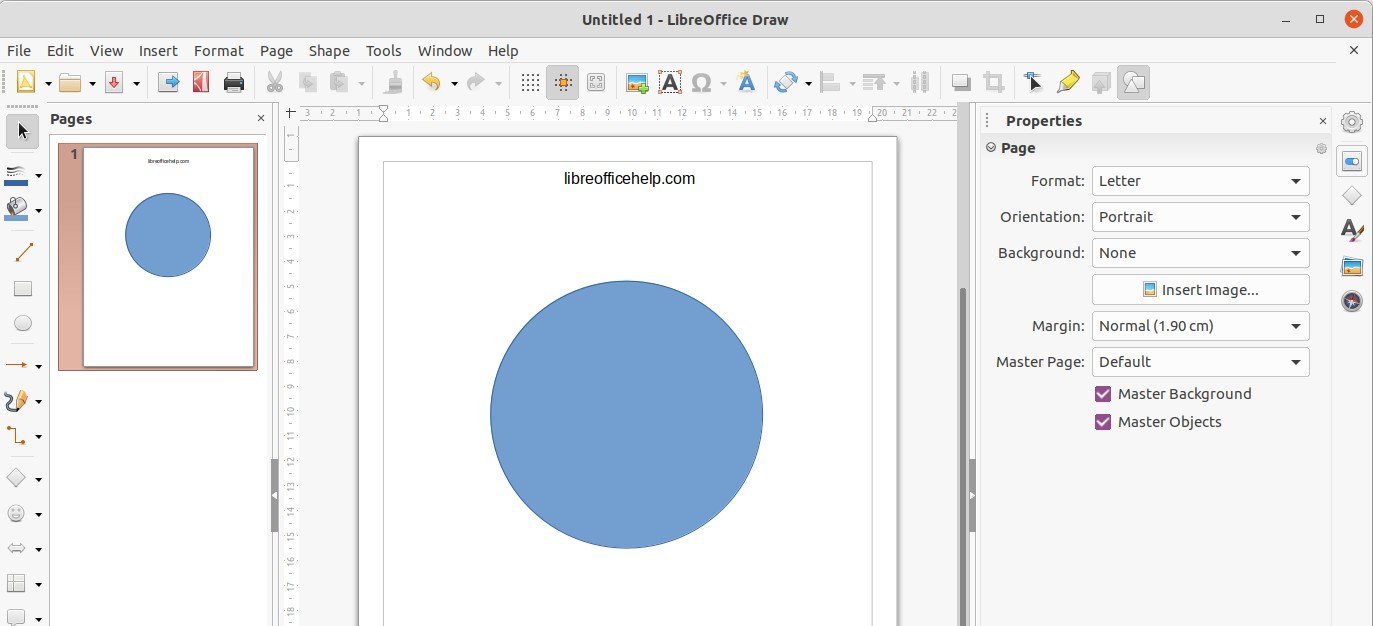
Open a Draw canvas and draw any shape. For this guide, I have added a Circle.
Now, if you want to crop this circle to make it a rectangle, you need to use the shape options – substruct, add, and union.
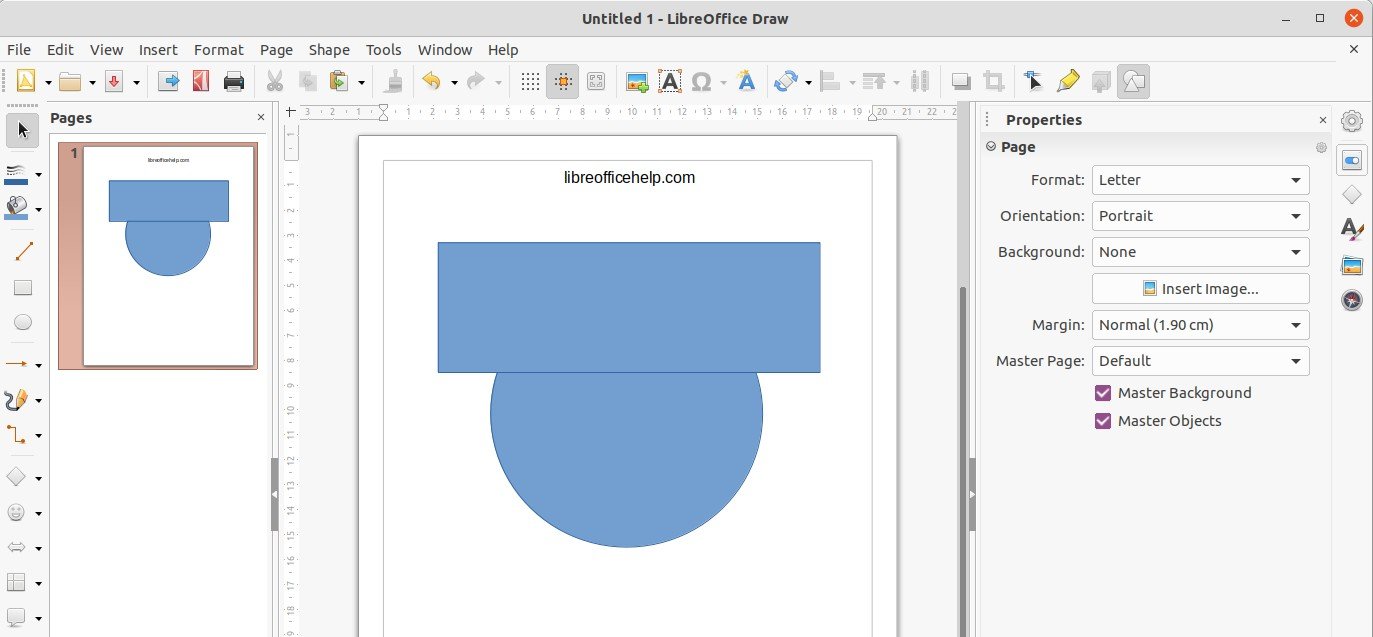
To do that, draw a rectangle on top of the circle like this. The key part here is the “top”. Make sure you are drawing it on the top of the Circle.
Select both shapes.
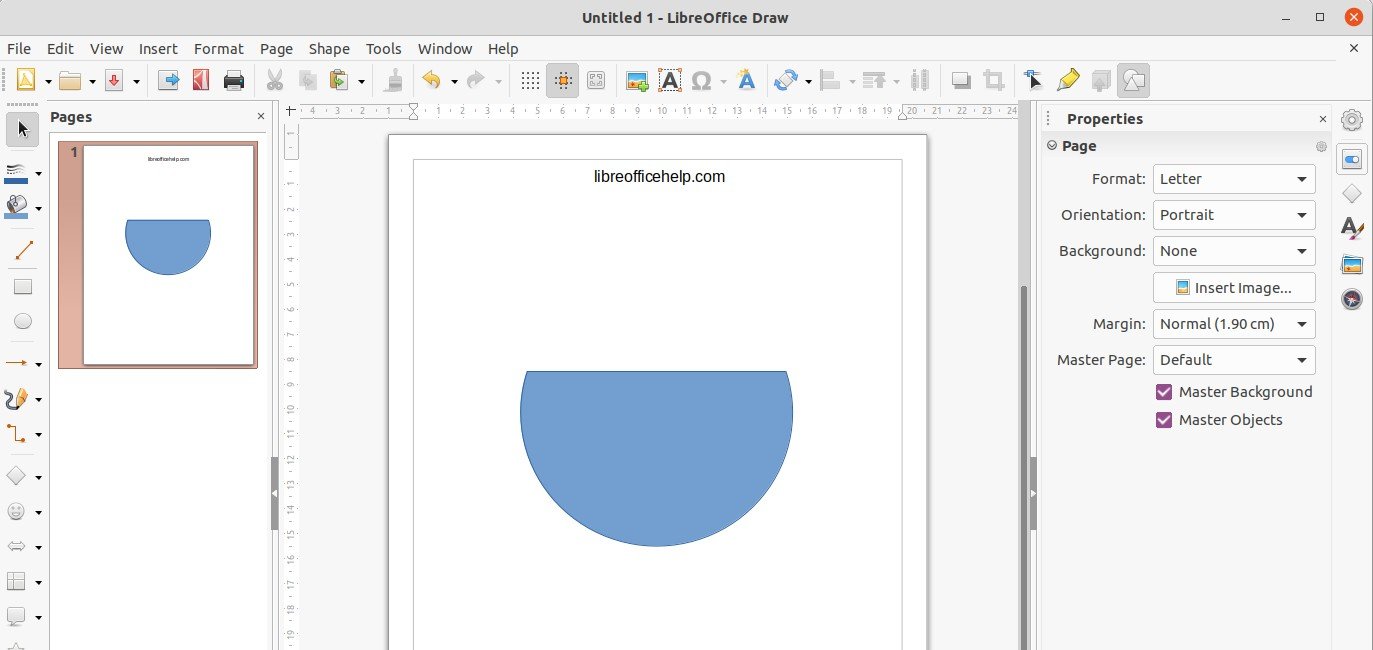
Then from the menu, select Shape > Subtract. The shape will be cropped for the entire rectangle section, which is covered on top of the Circle.

Repeat this operation with the many shapes you want. This way, easily crop shapes in LibreOffice Draw.
You can also combine multiple shapes to achieve the desired result. While drawing multiple shapes overlayed, you can also combine the subtract and merge options to achieve your result.
It’s a matter of understanding how it works. I hope this helps. Have questions? Let me know in the comment box.