


Large spreadsheets can become unwieldy, cluttered, and difficult to analyze. Hiding unnecessary columns and rows improves readability and helps you focus your attention on the most crucial information. Whether you’re working with financial data, complex formulas, or extensive product lists, this simple technique can significantly improve your productivity while using LibreOffice or OpenOffice.
Now, let’s find out the steps for hiding columns and rows in LibreOffice and OpenOffice.
Table of Contents
Hide columns and rows in LibreOffice
Select the columns or rows to hide
- To hide a single column or row, click on the header (the letter at the top of the column or the number at the left of the row).
- To hide multiple columns or rows, click and drag the headers to select them.
- Alternatively, you can use the keyboard shortcuts:
- Ctrl + Shift + End: Select the entire row.
- Ctrl + Spacebar: Selects the entire column.
Hide the selected columns or rows
After you select the rows or columns, use any of the following methods to hide them.
Method 1: Using the Menu Bar
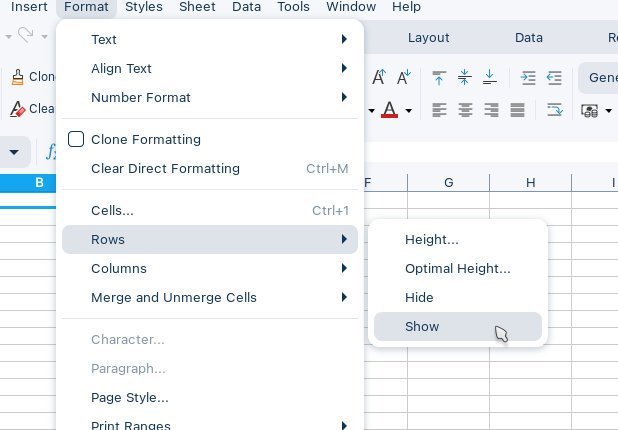
- Format > Rows > Hide (for hiding rows)
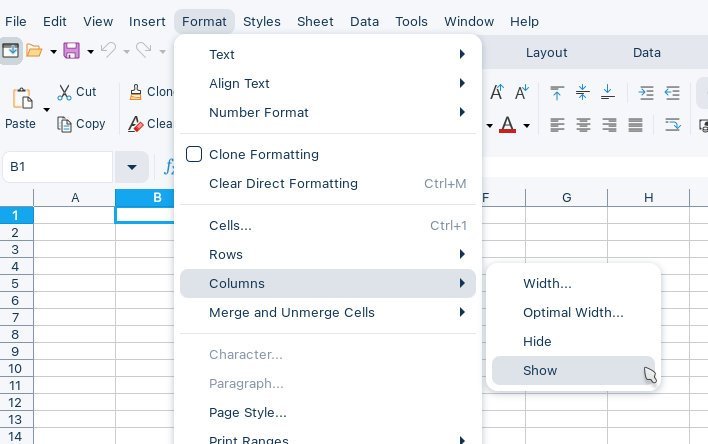
- Format > Columns > Hide (for hiding columns)
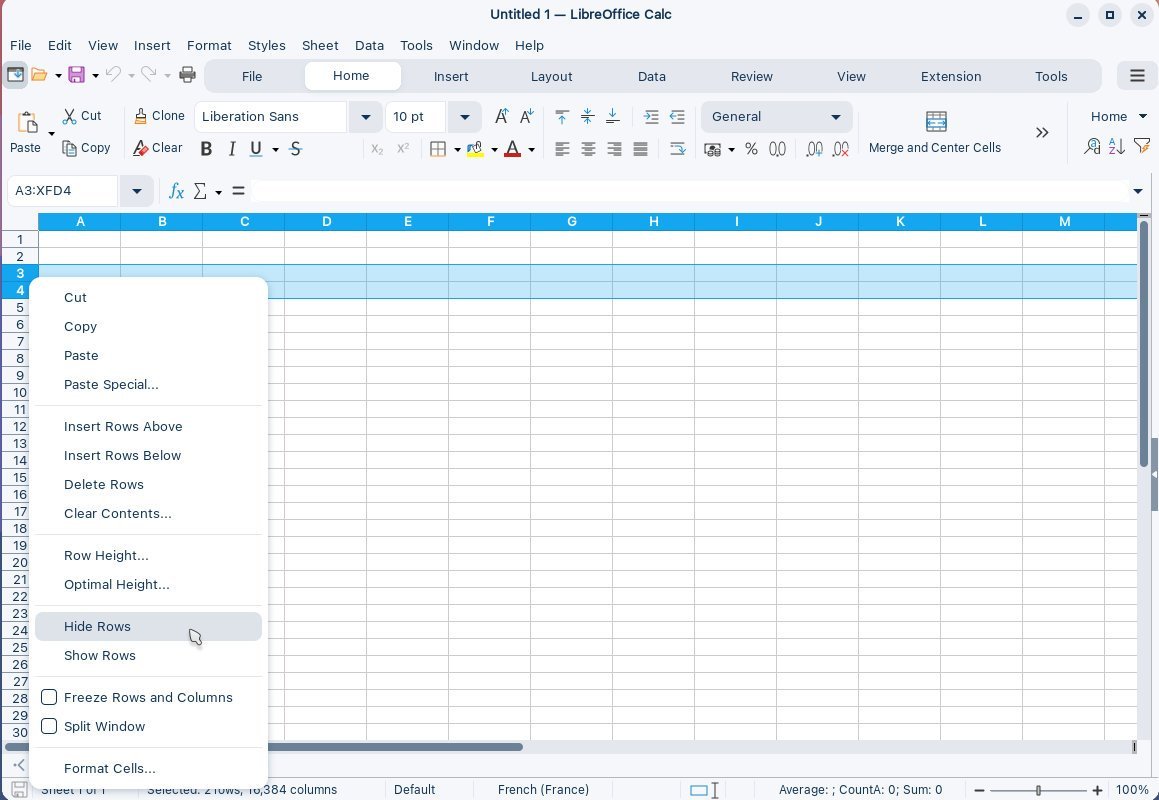
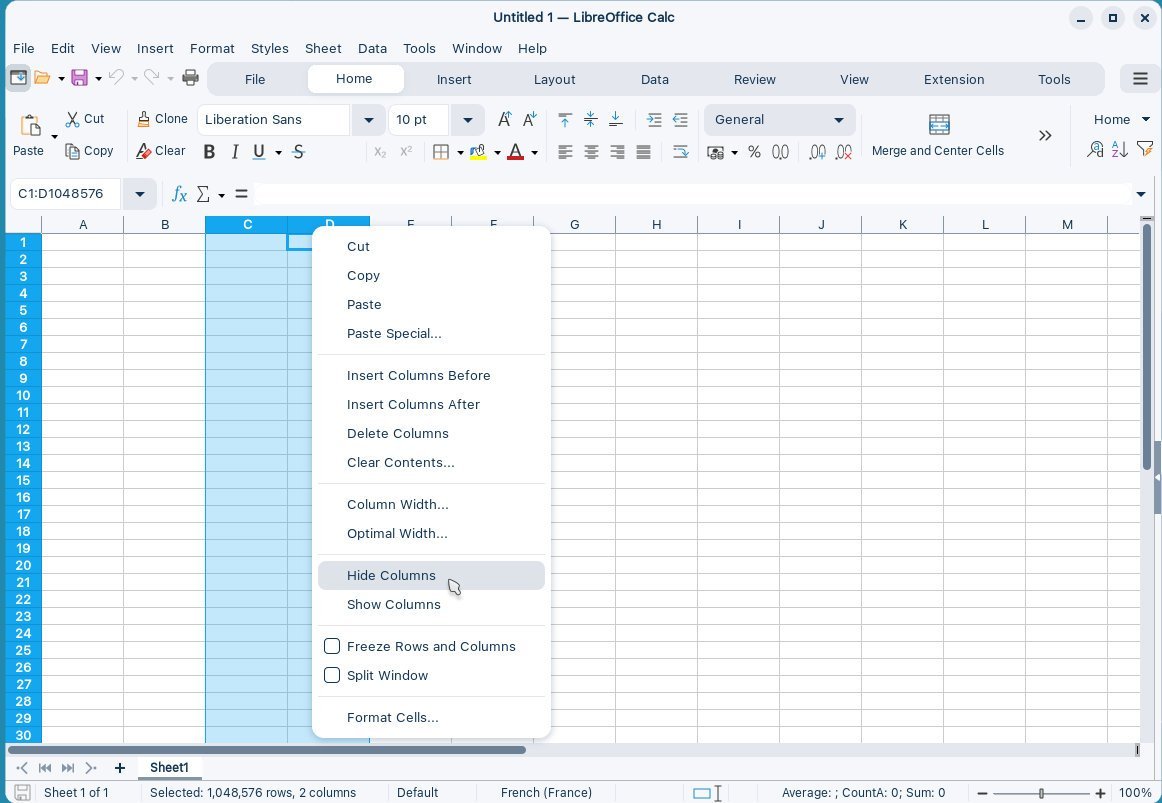
Method 2: Using the Right-Click Menu
- Right-click on the selected header(s) of rows or columns.
- Choose Hide Rows or Hide Columns from the context menu.
For OpenOffice, the option is in the same context menu and it only says “Hide” or “Show”.

Unhide columns and rows
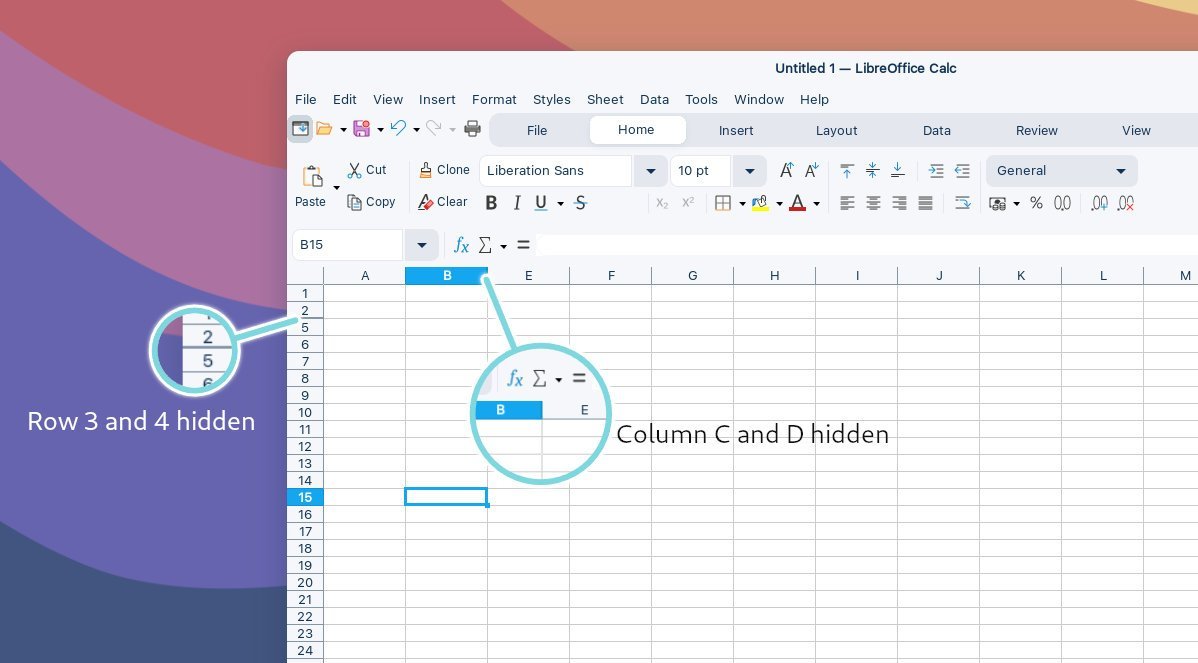
- First you need to find out the hidden items. To do that, carefully check the column letters or the row numbers. If they are not consecutive, then there lies a hidden row or column.
- To unhide a hidden column or row, select the previous and next rows or columns of the hidden rows or columns. I.e. select a few rows and columns covering all the hidden rows and columns.
- Select Show columns or Show rows from the context menu.
That’s it!