


This quick guide explains the steps you need to compress images in LibreOffice Writer.
Suppose you are working with a large document with many images and the file size increases. Large file size creates problems sometimes while distributing and uploading documents. Also, a huge file size makes the LibreOffice Writer slow depending on the processor.
However, LibreOffice Writer provides a quick way to reduce image size via JPEG or PNG compression. Here’s how.
How to Compress Images in LibreOffice Writer
- Open the document containing images in Writer. Or you can insert images in a blank document as well.
- Right-click on the image to bring up the context menu.
- Click Compress.

- This option would bring up the below dialog of options. You can choose JPEG compression %, and PNG compression %. If you want to reduce the resolution of your image, you can do that as well.

- The Image Information section will give you an estimated image size after reduction when you click on the calculate new size option, which is also super helpful.
- For example, when you reduce the image parameters, the dialog will look like this.

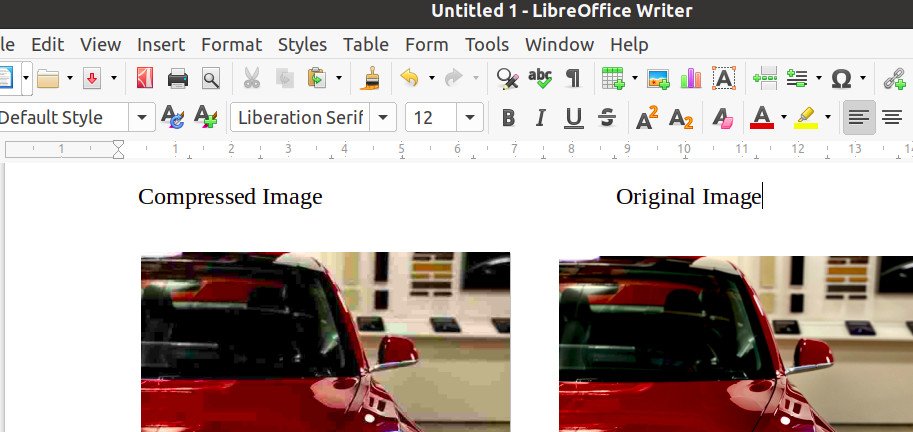
- Once you press OK, the compressed image will be displayed in your Writer document. This will eventually reduce the file size of the Writer document.
This way, you can easily compress the inserted images in the Writer document. However, there is no other way to compress all images in the document in bulk as of writing this article. There is an enhancement tracked in LibreOffice, which is yet to be worked upon for this.
Having said that, if you need multiple images to be compressed, you use some other utility to compress all images in batches and then insert them one by one. Well, you have a plan from the beginning of your document workflow.
Also, you can save the Writer document as a PDF with JPEG compression of up to 75% (approx) to reduce all images in bulk for distribution.