This beginner’s tutorial will show how to draw simple shapes and acquaint you with the Draw workspace.
LibreOffice draw is an application for creating graphics, images, posters and desktop publishing as well. This free software comes as part of the LibreOffice office suite.
Table of Contents
Drawing Using LibreOffice Draw
Workspace
- LibreOffice Draw has an easy-to-use workspace with toolbars and shortcuts. The following image shows the default LibreOffice Draw workspace.
- In the middle, the main canvas is present for the drawing.
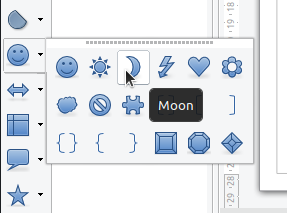
- On the left side, all the shapes, e.g. geometric shapes, flowchart shapes etc., is present.
- On the right side, the main properties window of shapes and canvas.
Drawing
To start drawing in LibreOffice Draw, click any shapes and draw using the mouse inside the canvas. You can also change background colours and line colours with the properties window of selected shapes on the right side.
There is a huge list of an in-built gallery of small images/clip art which you can drag to canvas for your use.
You can combine any shape, text, and graphics to create your drawing with your concept.
Export and Save
You can find the save and export option from the File menu in LibreOffice Draw. Draw supports below exporting file types (which cover almost all popular types):
- HTML Document – .html, .htm
- XHTML – .xhtml
- Flash – .swf
- BMP – .bmp
- EMF – .emf
- EPS – Encapsulated PostScript – .eps
- GIF – .gif
- JPEG – .jpeg, .jpg, .jfif, .jif, .jpe
- PNG – .png
- SVG – .svg, .svgz
- TIFF – .tif, .tiff
- WMF – .wmf
Simply choose your desired type and save.
Summary
This tutorial gives you a basic overview of LibreOffice Draw to get you started. Drop a comment below if you have any comments/suggestions.


Like all other software guides and tutorials, you present too much information (TMI) to the new user. The tutorial page offers downloads (what is being downloaded), change options for the browsers, PDFs (for what?). You really need to focus, because people who are using tutorials need to narrow the information being given then, not expand it. Access is degraded by the busy-ness of the screens presented in your tutorials