This guide explains the steps to save or export LibreOffice Impress Slides as images or pictures in any format – such as.jpg, .png, etc.
Note: The HTML export feature to different files is dropped in LibreOffice 24.2. Hence, the following steps will not work from the version 24.2 onwards. There is no workaround currently which I could find. Refer the release notes of 24.2 here. Also refer the bug report here.
LibreOffice Impress provides the Export option that helps you to save the impress slides to any picture format. As of LibreOffice 7.x series, it provides below image formats for exports:
- jpg
- tiff
- png
- svg
- emf
- bmp
- gif
There are two parts to this guide. The first part explains the steps to export a single slide as an image. The second part describes export all slides as separate images.
Table of Contents
Export LibreOffice Impress Slides as Images
Export single slide as images
- Exporting a single slide as .jpg, .png, etc image is straightforward. Open the Impress presentation, select the slide which you want to export.
- From the menu, select Menu > Export.
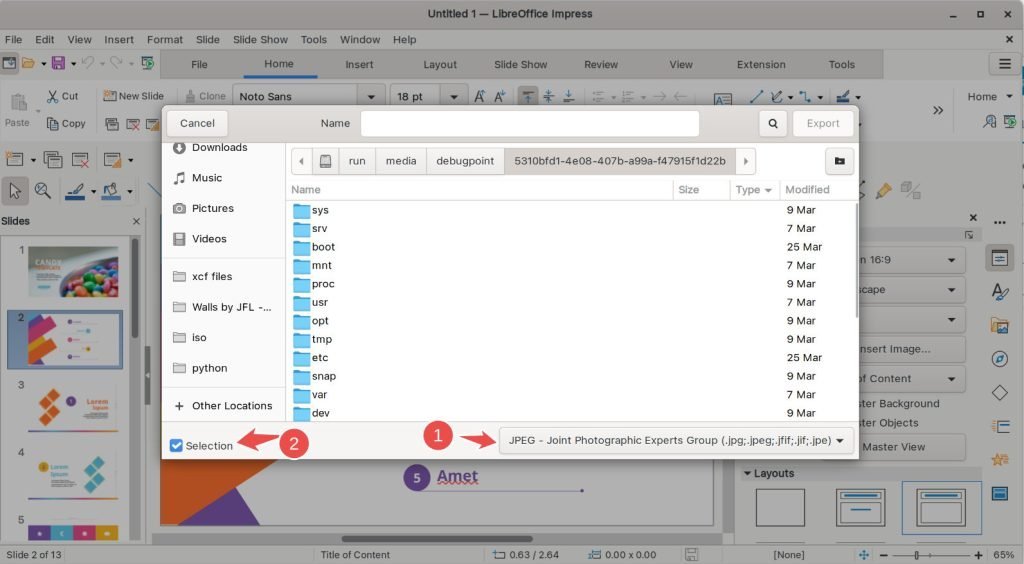
- In the Save As dialog, select the JPEG option from the dropdown and click on the checkbox Selection.
- Provide jpg quality options. You have the option to choose the height, width, resolutions, colour depth, and quality % as well. Similar options are also present for other image formats, such as png.
- Once done, click ok to save the slide as an image. You can now go to the folder and check the exported slide-in image format.
Export all Impress Slides as Images
Exporting all slides as separate individual images in LibreOffice Impress is a bit tricky. The above File Menu –> Export to the image will not work for multiple slides. So if you have large presentations with many slides, it is difficult to export them one by one using the above method.
Unfortunately, LibreOffice Impress doesn’t provide a standard way to do it. But there is a workaround that works i.e. export to HTML.
When you do export to HTML, Impress convert your all slides to HTML files at one go and creates separate HTML files per slide. When it does, it creates a separate image file for each slide as well. Using this method, you can actually convert all the slides to separate images.
Steps
- Open the Impress presentation file.
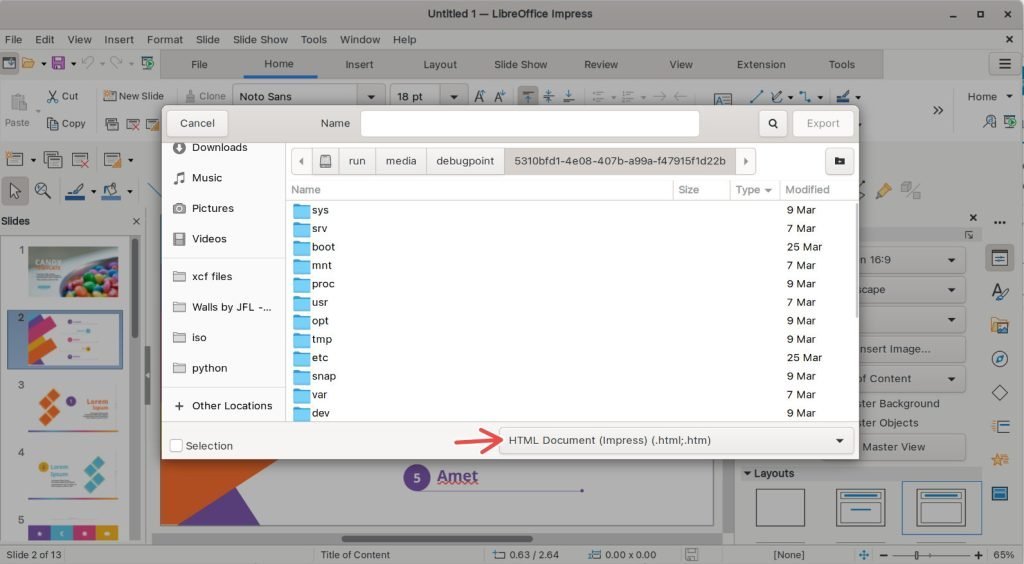
- From the File menu select Export and then choose the HTML option from the dropdown.
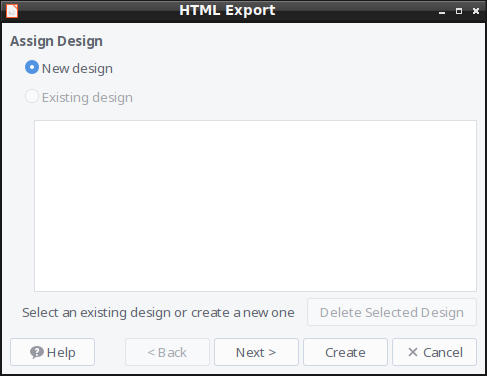
- In the HTML Export wizard, click next after choosing the new design.
- Keep the publication type = Standard HTML format.
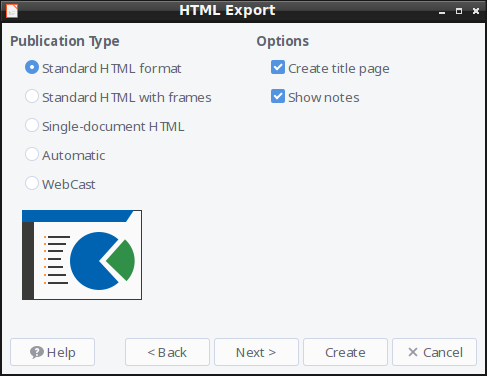
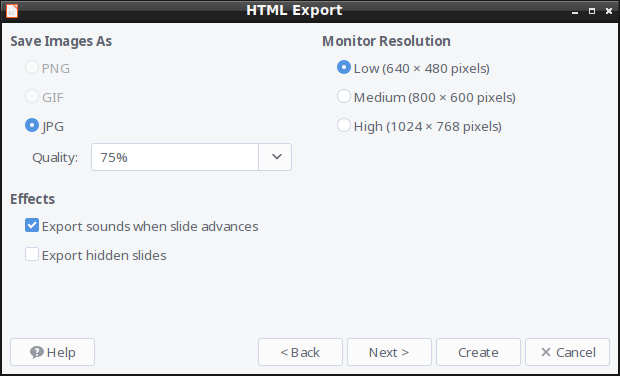
In the next window, choose your desired format of images. For this example I chose jpeg. You can specify the resolution of the images and quality as well. Click next.
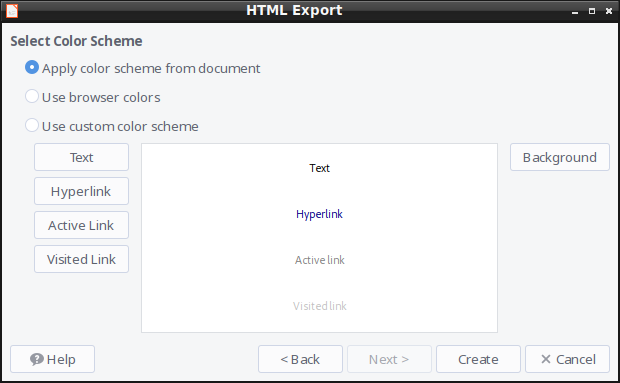
- For the next couple of windows, keep clicking next unless you want to change something. I would recommend you keep them as default options.
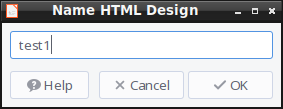
- In the last screen click create after specifying a name for your new html design.
Once you are done, go to the folder where all the files exported.
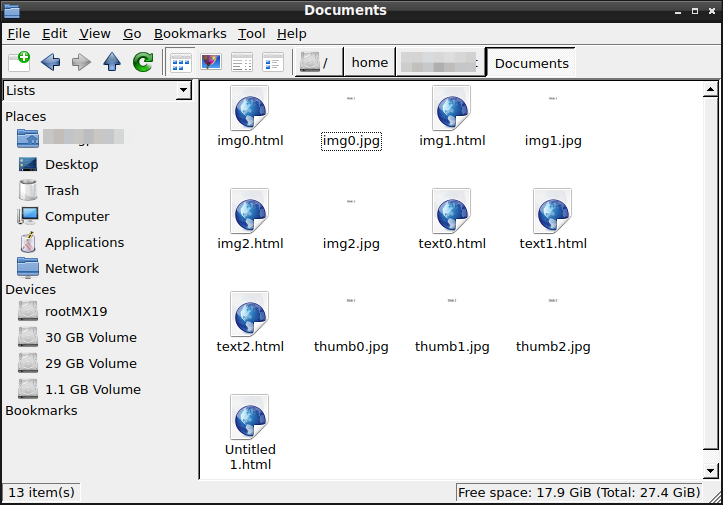
In that folder, you can see image files with names img0.jpg, img1.jpg etc. So, for this example, the Slide1 is saved as img0.jpg, Slide 2 is saved as img1.jog and so on.
Now you can easily copy and use the slide images exported from the entire presentation.

This feature is removed from 24.2 version.
https://wiki.documentfoundation.org/ReleaseNotes/24.2#Feature_Removal_/_Deprecation
This facility does not seem available in LibreOffice v24.*
Does anyone have a work aroung solution?
Its correct in v24. I have updated screenshots above.Incorrect, not working in 24.2 anymore. It has been removed. 🙁
I stand corrected. This is indeed removed. Added a banner at the top. This is beyond comprehension why this is removed anyway.