This tutorial explains the steps needed to set up the header and footer in a LibreOffice Calc sheet and customize them.
A well-designed print job does wonder. Isn’t it? But before print, you should make sure how your sheet or a document looks by customizing it.
Designing a page with a header and footer in the LibreOffice Writer document is straightforward because the primary canvas of the Writer itself is similar to an A4 page.
But setting up a page to print in the LibreOffice Calc worksheet is a little complex. Because here, you are dealing with thousands of rows and columns. They are not mainly formatted or displayed in A4 size.
Hence, I will explain how you can easily set up the header and footer in a simple LibreOffice Calc sheet.
Table of Contents
Setting up Header & Footer in LibreOffice Calc Sheet
I will use the new Tabbed user interface of LibreOffice for this guide. Because it is easier to use and the options are visible in a convenient way.
If you don’t have the new toolbar enabled, follow the below steps. If it is enabled, skip this step.

Go to the Layout tab and click on the format page button from the Tabbed interface (Figure 1).

Firstly, to change the header or footer – choose the appropriate tab. Secondly, to change the contents (such as heading, style, and footer), click on the Edit button for the respective Header or Footer tab.

In the Header page style window, you can change what goes into your header. Usually, the entire header section is divided into three parts.
- Left area
- Center area
- Right area
You can type in those areas, as shown in figure 3. You can also choose from the presets available from the Header dropdown below.
Furthermore, to change the style, such as font style, bold, italics etc., you can click several options in the Custom header toolbar, as shown in figure 3.

Similarly, do the same for the footer window.
Once the customization is complete, press Ok.
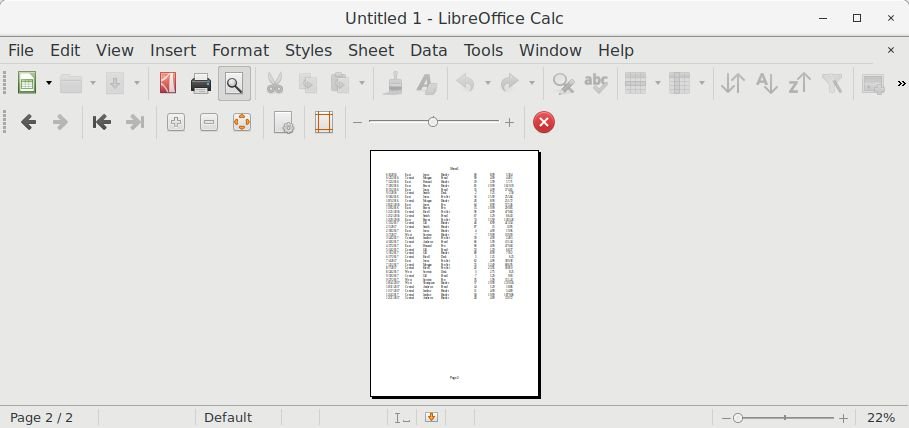
Now, go to Print > Print Preview and you should see the custom header and footer with your Calc sheet contents, as shown in Figure 4.

That’s it. You can now hit print to get a nice copy of your spreadsheet.
With the above knowledge, you can now create any custom header and footer for your spreadsheet.
Video
If you still need help, here’s a video I prepared for you for the above steps. Have a look.
Closing Notes
I hope this guide helps you to configure the custom header and footer for the LibreOffice Calc program. If you have any comments or having trouble, drop a comment below.


For some strange reason my header and footer are not appearing on page 1. How do I fix that?
Can you show a screenshot