A beginner’s guide on how to draw different types of lines in LibreOffice Draw.
Lines are fundamental for any diagram, and LibreOffice Draw is powerful enough to help you draw any line such as basic lines (horizontal, vertical etc.), lines with connectors, dotted lines and many more.
Here’s how you can do it.
Table of Contents
Steps to draw a basic line in LibreOffice Draw
- Open LibreOffice Draw, and click on the insert line button from the drawing toolbar on the left. If the toolbar is not visible, select View > Toolbars > Drawing. If you are using the tabbed toolbar (Ribbon), it is available in the Home tab.
- In the main canvas, using your mouse, drag from one point to another to draw a line.
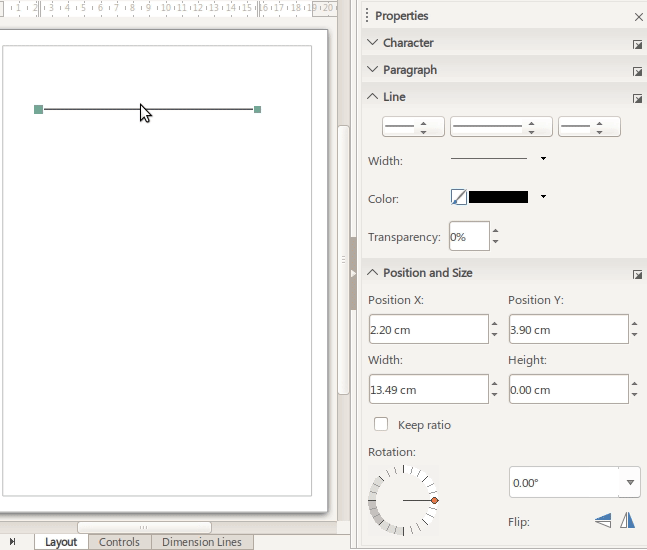
- A line would be drawn based on the default line width and colour.
- Repeat the above steps for each line you would like to draw.


Changing the style of the line
You can change the width, colour, transparency position and rotation of a line in LibreOffice draw. You can also change the beginning arrowhead and the ending of the line.
On the right side of the LibreOffice draw window, you can find all the options where you can change the style of the lines you are drawing per your need.

You can try experimenting with different options and drawing lines – like the ones below!
Summary
This is how you can draw simple to complex lines in LibreOffice Draw. You can use all combinations of style options to match your need.
Also, drop a comment using the comment box below for your questions and suggestions.
