In this guide, I will show you how to make a LibreOffice Calc sheet fit page for print and also explains the print ranges.
Table of Contents
LibreOffice Calc Fit to Page
There is a difference between printing a sheet and a document. A LibreOffice Writer document is typically similar to an A4 size paper – if you think about actual printing.
But in contrast, a LibreOffice Calc sheet is different. Hence, the question becomes how you define the print ranges (i.e. what are the cells to be printed). That includes printing as many cells as possible to fit into an A4 paper (or any other size).
Example
To explain this concept, I have prepared the following sheet with the below data blocks. As you can see, the entire blocks of data can not fit into a single A4 size page.
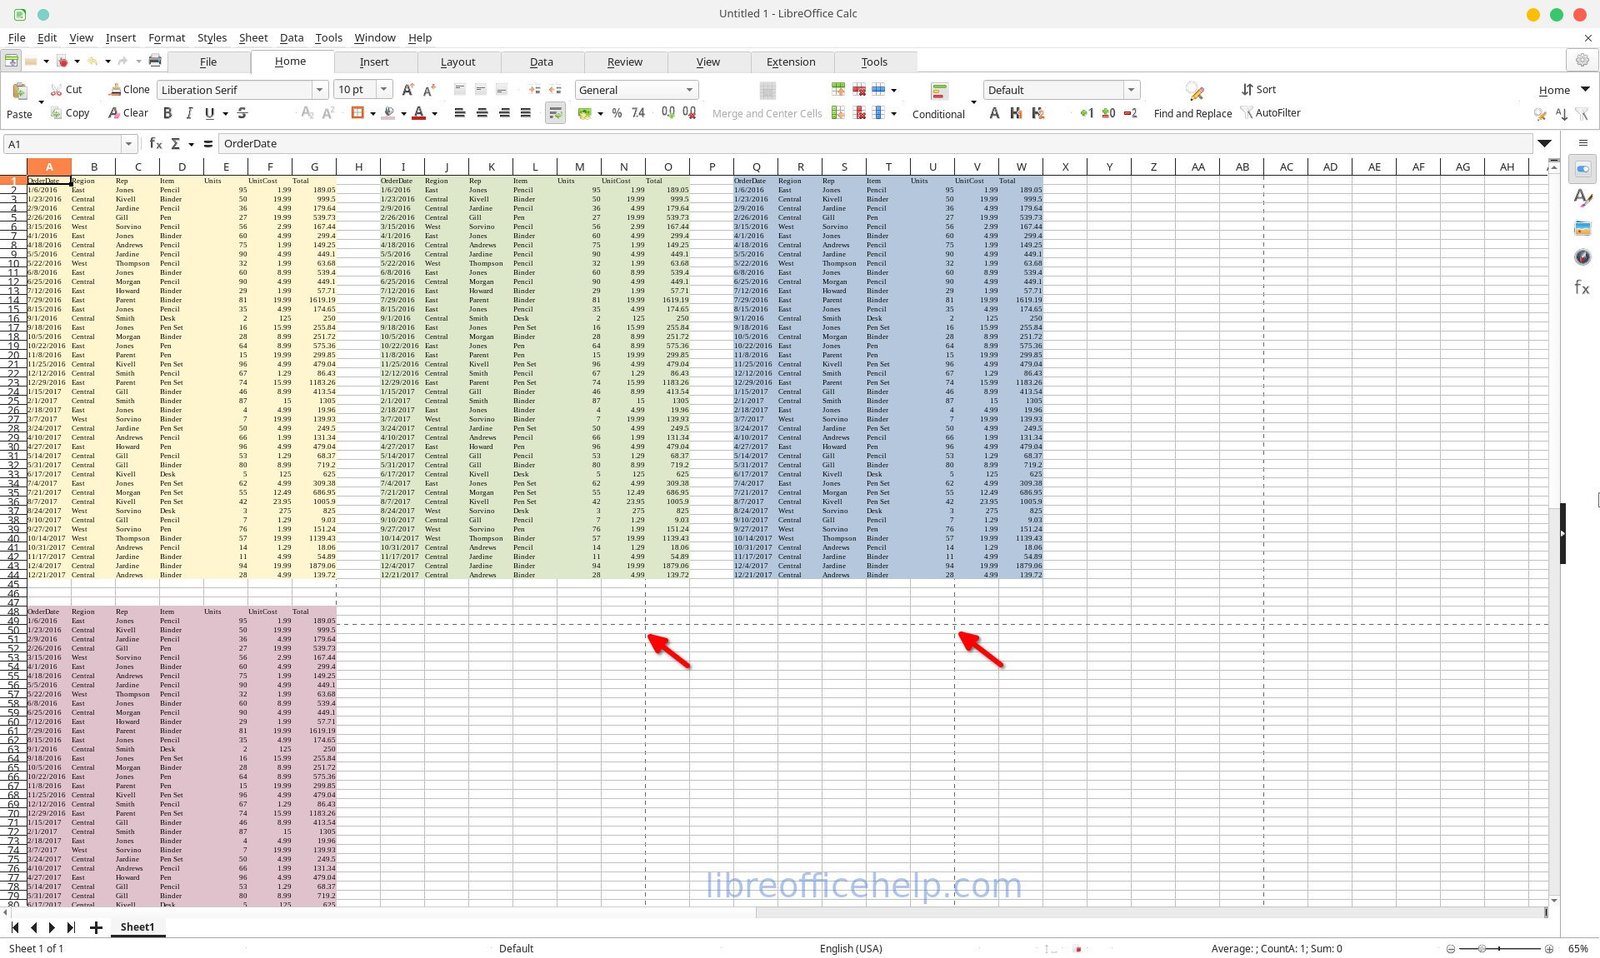
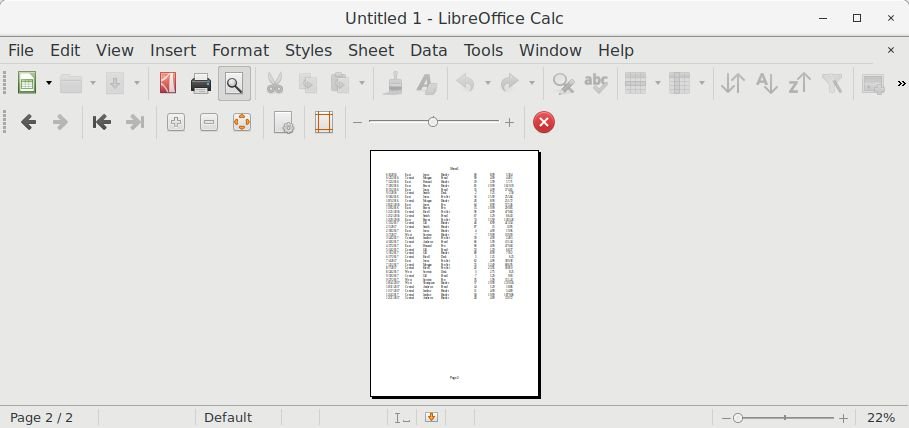
In the above image, there are dotted lines across columns and rows. Those are the default print ranges. That means, when you print them, each page should contain the data confined into those dotted lines (marked in red arrow). To try it out, hit CTRL+SHIFT+O or File > Print Preview, and you should see the data is not uniform on a single sheet of paper.
But how can we fit all the data into one page? Yes, it’s possible.
Define Print Range
Firstly, we need to define a print range. A print range is a range of cells in scope for printing. For example, you may have thousands of cells with data. But you want to print only, say, 100 cells. So, accordingly, you define a print range.
From menu click Format > Print Ranges > Edit. If you are using the Tabbed bar, the ribbon-style bar, go to Layout Tab and click Edit Print Area (see the below image).


On the Edit Print Ranges dialog, select Print Ranges = User Defined. Then click on the small button next to the range text box, and choose the entire range of data you want to print. For this example, I have used all the data blocks in the sheet.

Press OK.
Page Set up
Now, go to Layout Tab and click on Format Page. Since the data is more extensive horizontally, let’s make the page size Landscape (Page Tab > Landscape). In your case, you may or may not want to do this, but that depends on your actual data.
Then, go to the Sheet tab and choose Scaling Mode: Fit print range(s) on a number of pages. Now, if you also choose Number of pages=1 (default), LibreOffice Calc would shrink all data blocks into a single A4 page.

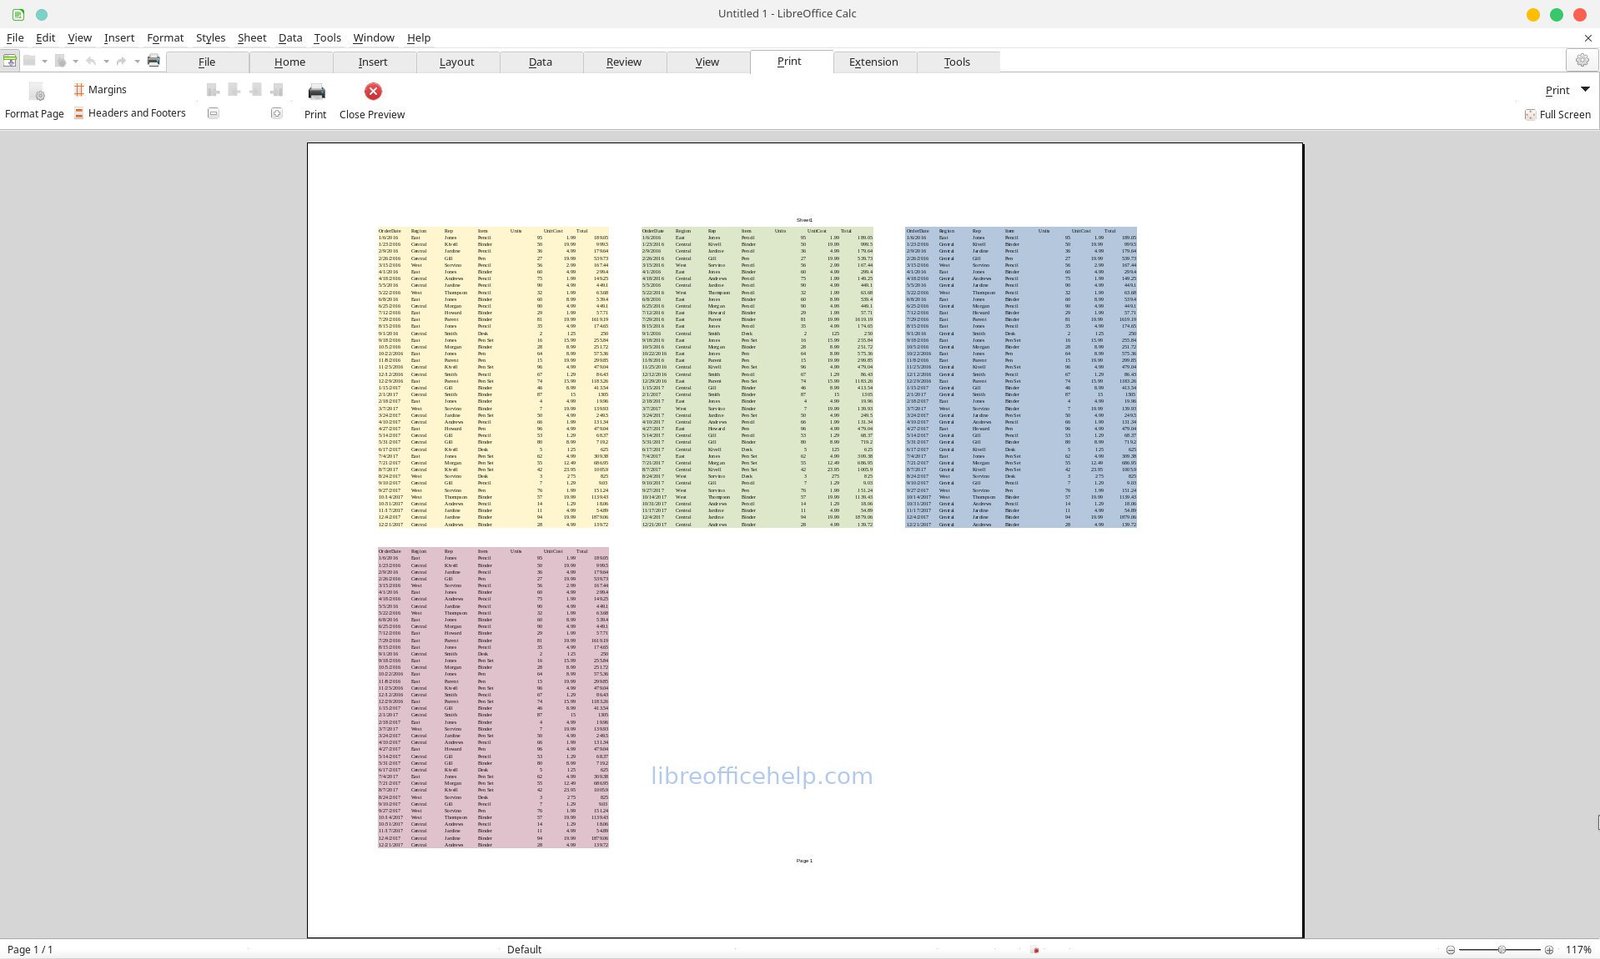
Press OK. And now, go to File > Print preview. And finally, you should see the entire blocks of data are on one page for you to print.
Since you get the idea, you can now tweak the above settings for a variety of page sizes or paper sizes for your printer. You may also want to customize the header and footer in the Calc sheet for a better print experience.
Video
We have also prepared a video to demonstrate the above steps.
Wrapping Up
I hope this guide helps you to get your desired print results. Do let me know in the comment box below if it helps you Or if you need any assistance.
Cheers.


when did you do this? july ’24 now and it’s not the same. exactly. not on my computer anyway. I can’t find layout/format page page tab/landscape
so it sits there stubbornly portrait.
i’ll do some web searching…
I finally found what I was looking for on the toolbar, under the FORMAT tool, then the Page Style option, which brought up the window he shows. You then go to the last ‘tab’ on that popup window, and find what you are looking for. I actually was looking to find something that would ‘stretch to fit’ the page.
I found this to be useful, however, I could never find the ‘layout tab’ as described. I finally found it under the “Format” (tab?) on the toolbar. There are times when Libre Calc is not user friendly for novice users, compared to MS Office. But thank you for taking the time to post this.
There is a layout tab. I have updated the article with screenshot.
Thank you!
how to make this setting default for all documents?
at the moment I have to do this for every open document every time
No. I don’t think there are any options to globally set the print ranges.